
Have you experienced local development that involved with email end up in your /var/mail/ directory? However, this is only true if you’re not using Windows operating system. You might want to capture your outgoing emails, but worry that it will be spamming your own inbox. Introducing MailHog as Mailtrap alternative.
One of the most common way to capture these outgoing emails are using Mailtrap.io service. It serves as basket that capture all outgoing email. You can download the WordPress plugin here.
Enough about Mailtrap. Let’s talk about MailHog. It is a service that runs silent in the background and act as SMTP server. You then point your mail setting in WordPress or any other framework to MailHog address. The cool thing about this service is that it provides you with Web UI. Just like your normal inbox.
Today’s overview
- Installing MailHog
- MailHog in WordPress using SMTP plugin
- Implement MailHog as
sendmailreplacement usingmhsendmail
How to Install MailHog as Mailtrap Alternative
In this example, I am using brew (Homebrew). Fire up your favourite command line app (mine is iTerm2) and run the script below:
brew install mailhog
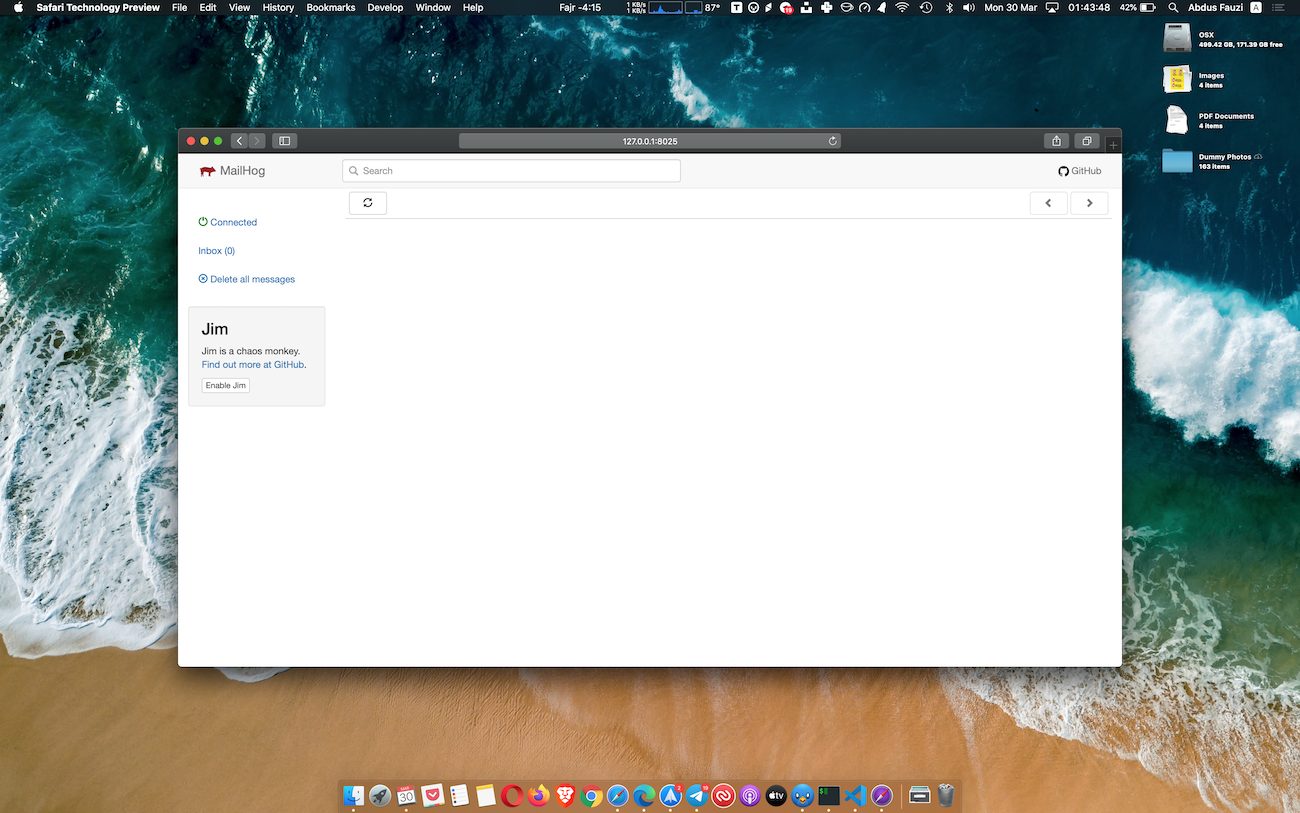
brew services start mailhogOnce the installation is finished, you can visit the web UI at http://127.0.0.1:8025 or http://localhost:8025. Accept the notification request so that you will be notified in the future. It will restart itself after reboot.
MailHog in WordPress Using SMTP Plugin
To keep this tutorial simple, I will be using WP Mail SMPT by WPForms. This will helps us to override WordPress default email engine (using PHP), and relay the email though our fake SMTP service, MailHog.
Install the plugin, or anything like it and fill up the configuration as shown in the screenshot below.
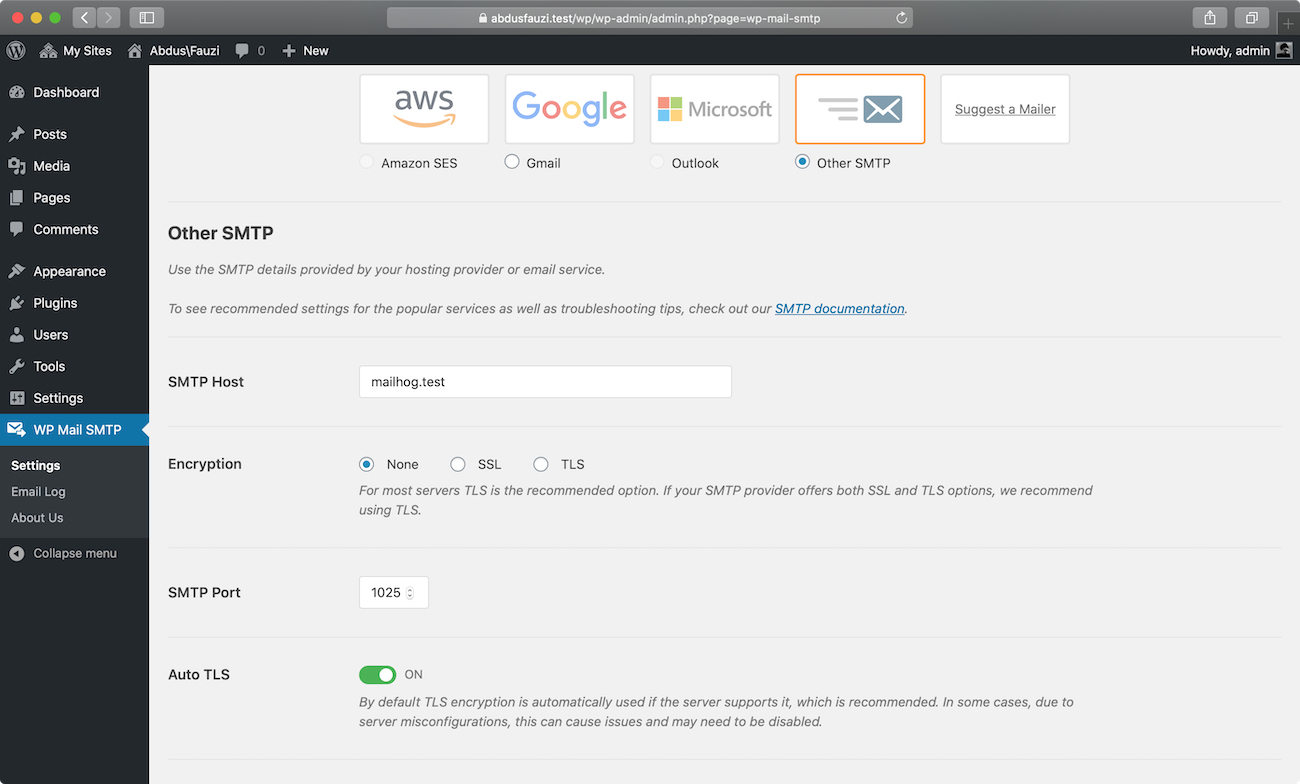
In the plugin Settings page, pick the Other SMTP option. Fill up the SMTP Host input with mailhog.test or anything, as long as is use .test. Don’t forget to change the SMTP Port to 1025.
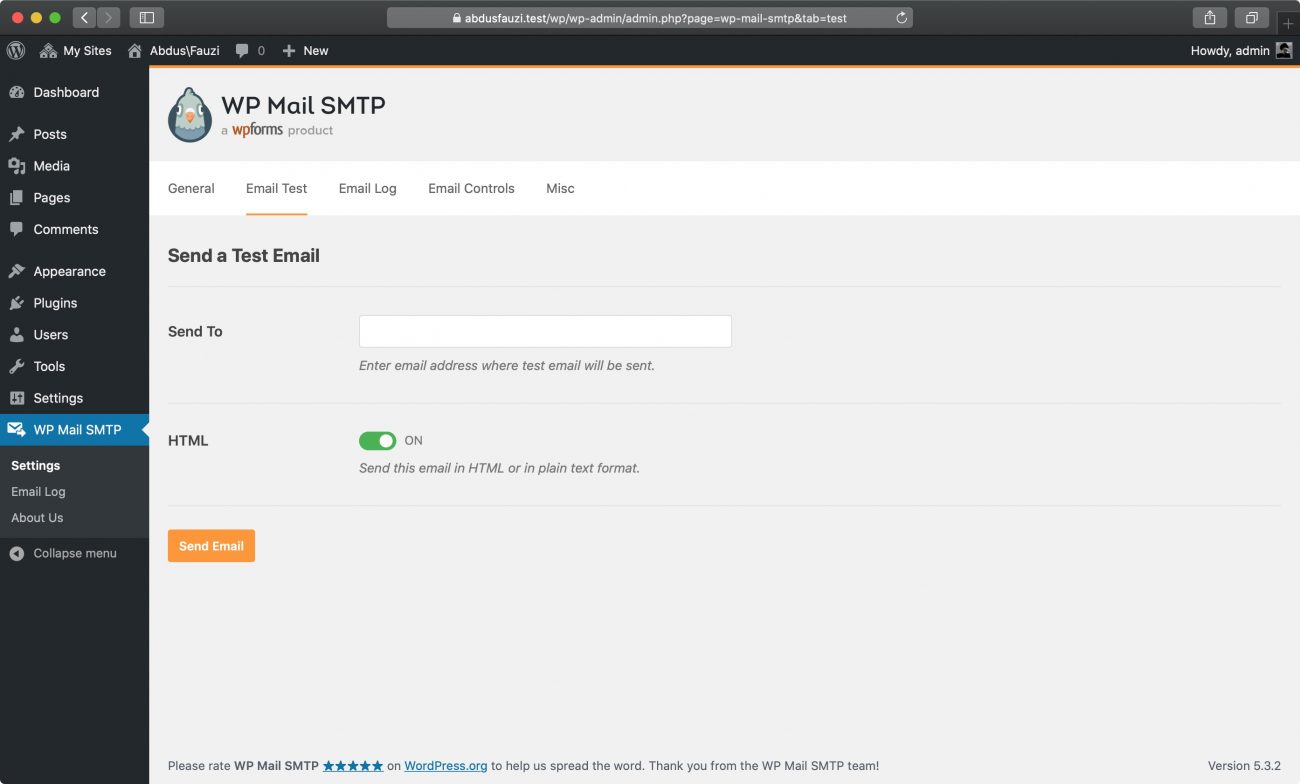
Use the Email Test to send a test email, so that it could be captured by MailHog.
MailHog as Sendmail Default
Edit your php.ini according to the current PHP version you are running, there enable sendmail like below.
sendmail_path = /usr/sbin/sendmail -t -iThen, save and restart your PHP. All services that utilise sendmail now will be rerouted to MailHog.
Next, do update your postfix main.cf configuration as follow located at /etc/postfix/main.cf
relayhost = [127.0.0.1]:1025mhsendmail (MailHog) as Sendmail Replacement
Warning! don’t think
– Abdus Fauzimhsendmailis supported in 2021, especially using M1 series Macbook.
https://github.com/mailhog/mhsendmail
You can also edit your php.ini and replace the sendmail with mhsendmail for auto-capture to all service that is using this PHP feature. Install using Go in your Terminal.
go get github.com/mailhog/mhsendmailFind your php.ini file and look for this line:
sendmail_path = ...Then, update the line from using sendmail to the mhsendmail like below,
sendmail_path = /usr/local/bin/mhsendmailOnce done, make sure to restart your PHP.


This reminds me to https://mailcatcher.me project
From its repo, it was mentioned that MailHog is inspired by MailCatcher. ??
[…] English […]